- North West Tyres Depot 028 7126 8649 Open today 8:30am - 5:30pm
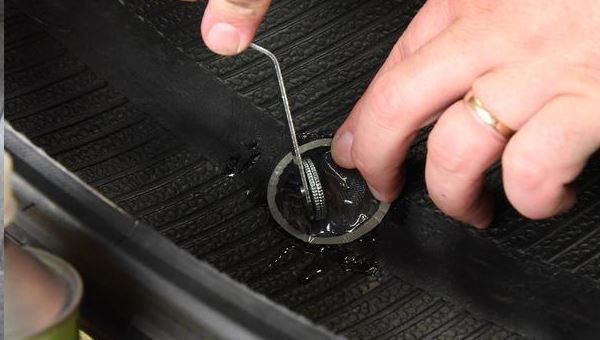
Puncture Repair
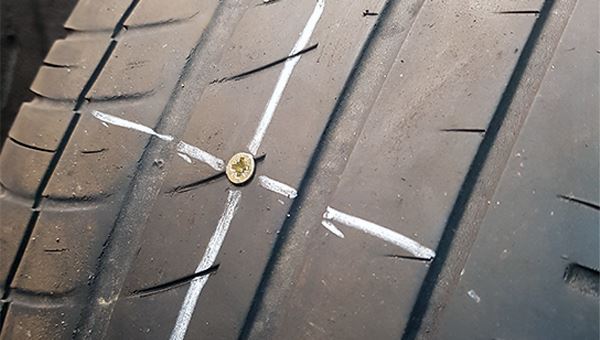
Driving on an improperly repaired tyre is dangerous. It can not only further damage the tyre but can also allow its strength to deteriorate over time. An improperly repaired tyre driven at high speeds may suddenly fail, causing loss of vehicle control. Continuing to drive on a tyre with a slow leak may allow moisture to seep around the object and into the tyre.
This will reduce the probability that the tyre can be repaired properly because the moisture will ultimately reach the internal steel and fabric cords used to reinforce the tyre and possibly cause rust and loss of strength.